gb_macropad
2025
Category: Internal project for Glassboard Product Development
During my second internship at Glassboard Product Development, myself and another intern decided to take on an internal project of developing a "Macro Pad" specifically for Glassboard employees. A Macro Pad is essentially an extension of a traditional keyboard that can send "macros" (a set of multiple keystrokes, like Ctrl+C for copy) with the push of a single button. A configurable macro pad can allow for increased productivity for all workflows by enabling easier access to shortcuts in software.
Project Inspiration
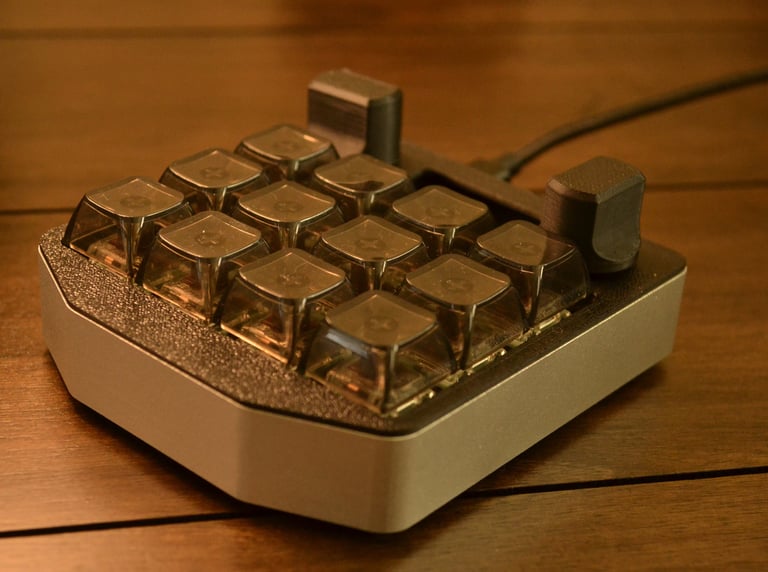
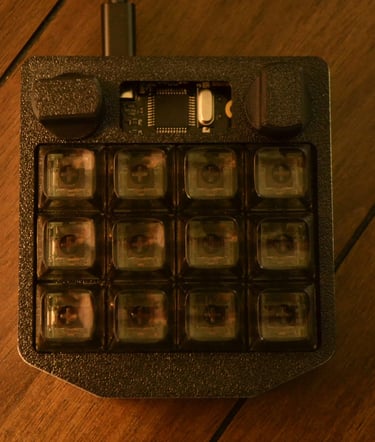
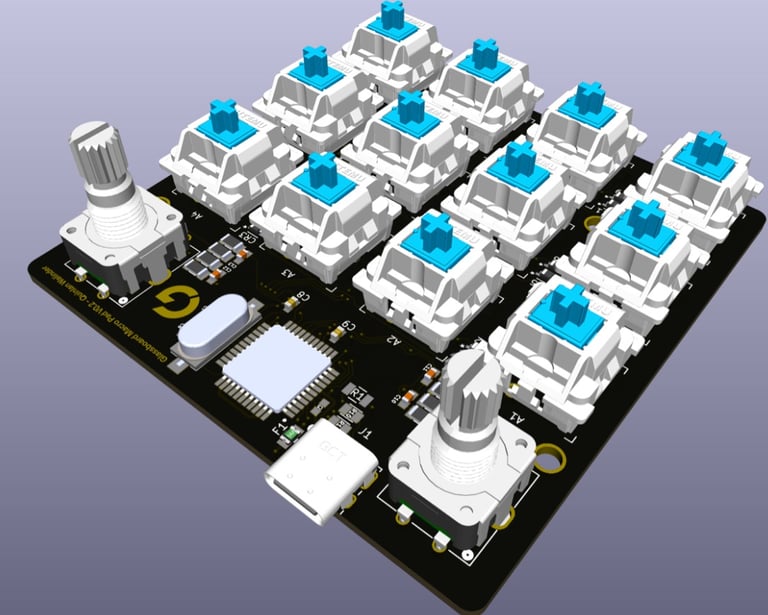
The first part of the process in creating the macro pad was determining the utility that it would provide to our coworkers around the office and if they found it helpful, what features they would like to see in our design. We eventually landed on a pad with 12 keys and 2 rotary encoders. Additionally, the device would be compatible with VIA configuration software, an app that is very popular in the mechanical keyboard community for its ease of use in customizing key binds.
The Process
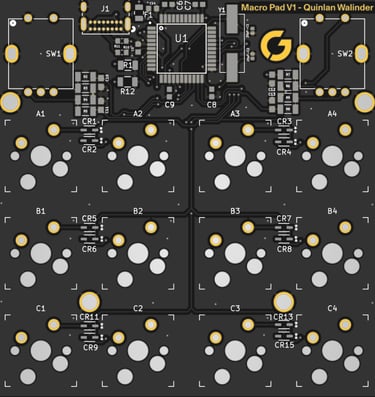
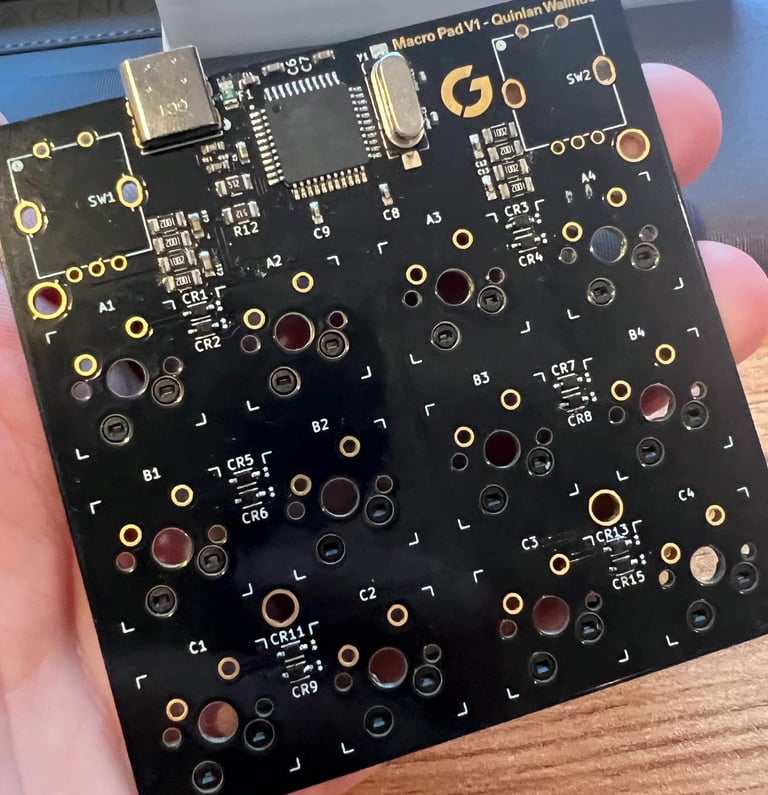
I designed the board around the ATMEGA32u4 microcontroller because of the native USB serial support. I read the documentation for the MCU, USB-C protocol, and rotary encoders to ensure that the timing clock, serial connection, and filter circuits were all correct. Because this was my first experience designing a circuit around a bare MCU rather than just using a development board, I consulted a lot with my colleagues on the Electrical Engineering team and learned some invaluable skills.

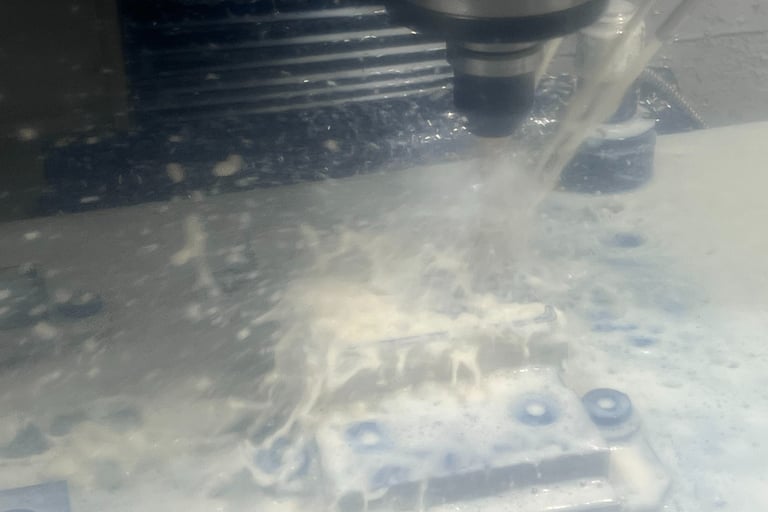
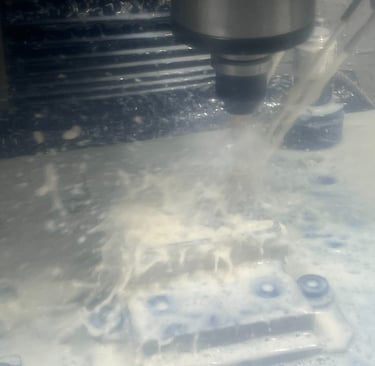
In addition to designing the PCB, I also made some design adaptations from the 3D-Printed housing designed by my coworker in order to allow for easier machinability out of aluminum. By modifying the radii of certain corners, standardizing the mounting screw size, and thickening some walls, the design was much more friendly to CNC machining.
After making modifications to the 3D model for the base housing of the macro pad, I used a CNC mill to manufacture it out of aluminum. After the milling operation, I gave it a uniform surface finish using a beadblasting medium and tapped the holes for mounting the PCB and front plate.
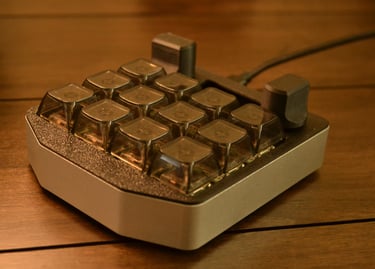
The final product turned out very well - not only did it achieve all of the functionality that was planned, the machined aluminum base adds an elegant touch. I learned a lot from consulting with the Electrical Engineers at Glassboard and am very pleased with how the product works, especially because this was only my second PCB design.
The Result